Description
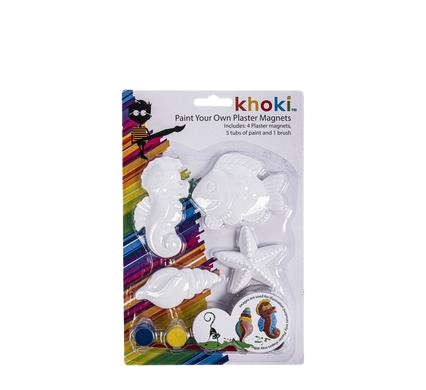
To paint your own magnet, you will need the following materials:
- A blank magnet
- Acrylic paint in your desired colors
- A paintbrush
- A paper towel
- A pencil
- A ruler
Instructions:
- Choose your design. You can paint a simple design, such as a circle, square, or triangle. Or, you can paint a more complex design, such as a flower, animal, or landscape.
- Sketch your design on the magnet. Use a pencil and ruler to sketch your design on the magnet. Be sure to leave enough space around the edges of the magnet so that you can paint the edges.
- Start painting! Use your paintbrush to paint your design on the magnet. Be sure to apply the paint evenly and in thin layers.
- Add details. Once your base coat is dry, you can add details to your design. You can use a smaller paintbrush to paint smaller details, or you can use other materials, such as glitter or beads, to add embellishments.
- Let the paint dry completely. Once the paint is dry, your magnet is ready to be used!
Here are some tips for painting your own magnet:
- Use a light touch when painting. You can always add more paint, but you can’t take it away.
- Be sure to let each layer of paint dry completely before adding the next layer. This will help prevent the paint from cracking or peeling.
- If you make a mistake, don’t worry! You can always use a damp paper towel to wipe it away.
- Have fun and be creative! There are no rules when it comes to painting your own magnet.
Once your magnet is dry, you can add a magnet backing to it. You can purchase magnet backing at most craft stores. Simply peel off the backing and stick it to the back of your magnet.


Reviews
There are no reviews yet